
My DIY, The Fireplace.

This Sunday my husband and I found ourselves playing house again. It was the living rooms turn for a paint job. The colour, yip, you guessed it, white! The chipped and marked custard walls now a goner, it was fun taking charge of yet another room in our renovation project and it really feels good to now have clean, crisp walls in the most used space of the house.
Our paint brushes were put down at 11pm after a thirteen hour day. On The Block we weren’t but possessed with completion we were. Luckily our little people spent the gloriously sunny day in the garden, playing holidays with cabin sized dolly trolleys dressed up as ladies (don’t you know) and wearing my high heels, totally content at amusing themselves, allowing for the work to unfold.
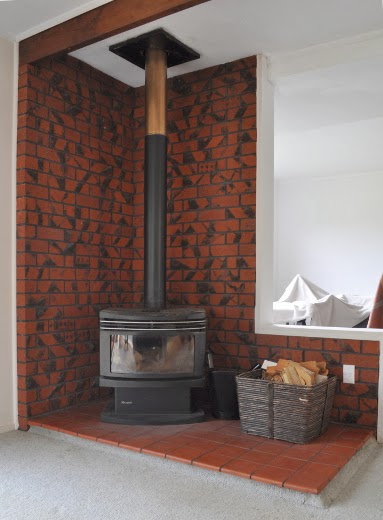
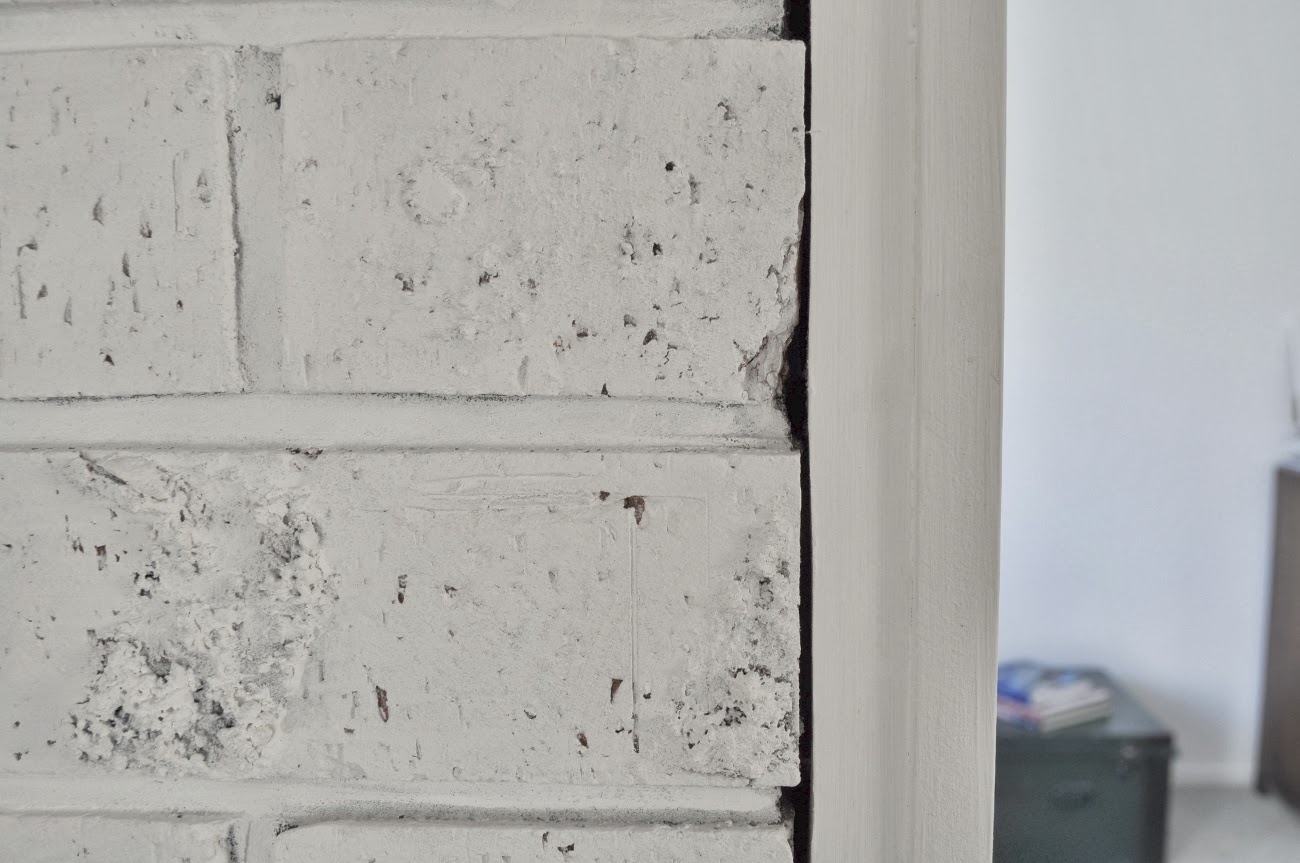
The fireplace in this house has rather disturbed me since we moved in. The brick wall surrounding the wood burner had a fake recycled brick effect. The bricks were made to look like they had been recycled from another building or another use but had in fact been manufactured with a stone mix randomly stick on to try re-create the rustic recycled style. It’s always daring to add modern trending effects of the current time to a property (our property has too many 1980’s disasters for example) and they tend not to stand the test of time. My Husband and I are on a mission to add neutral style to our house, intent for re-sale and are minimising these effects as we go alone.
The results of our fireplace make-over are below. The living room is another article altogether and when the room is complete with soft furnishings I’ll post on completion.
BEFORE
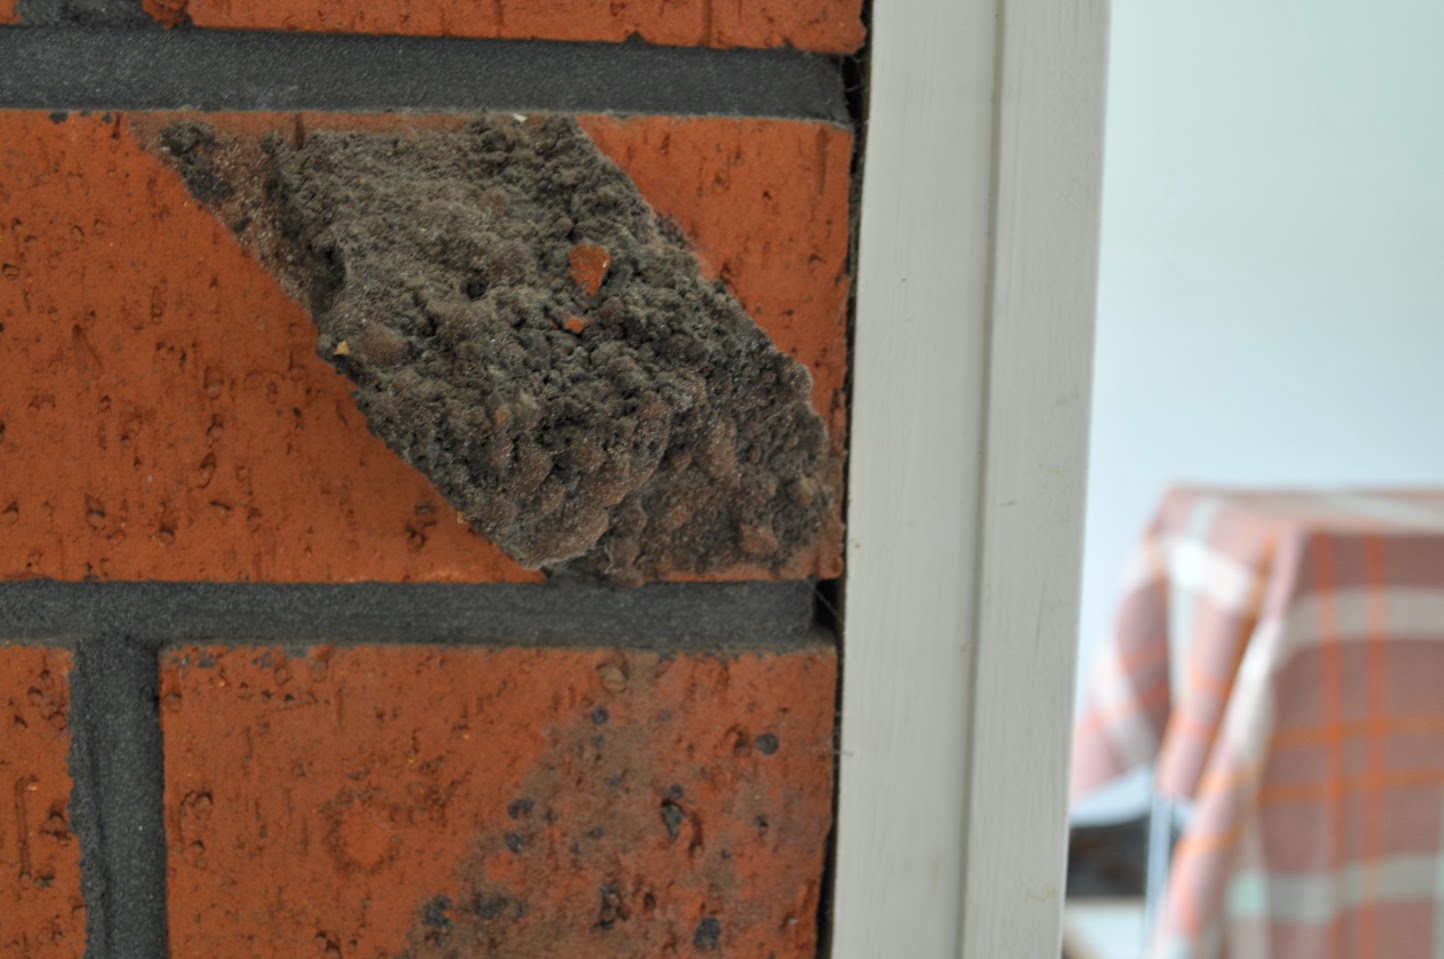
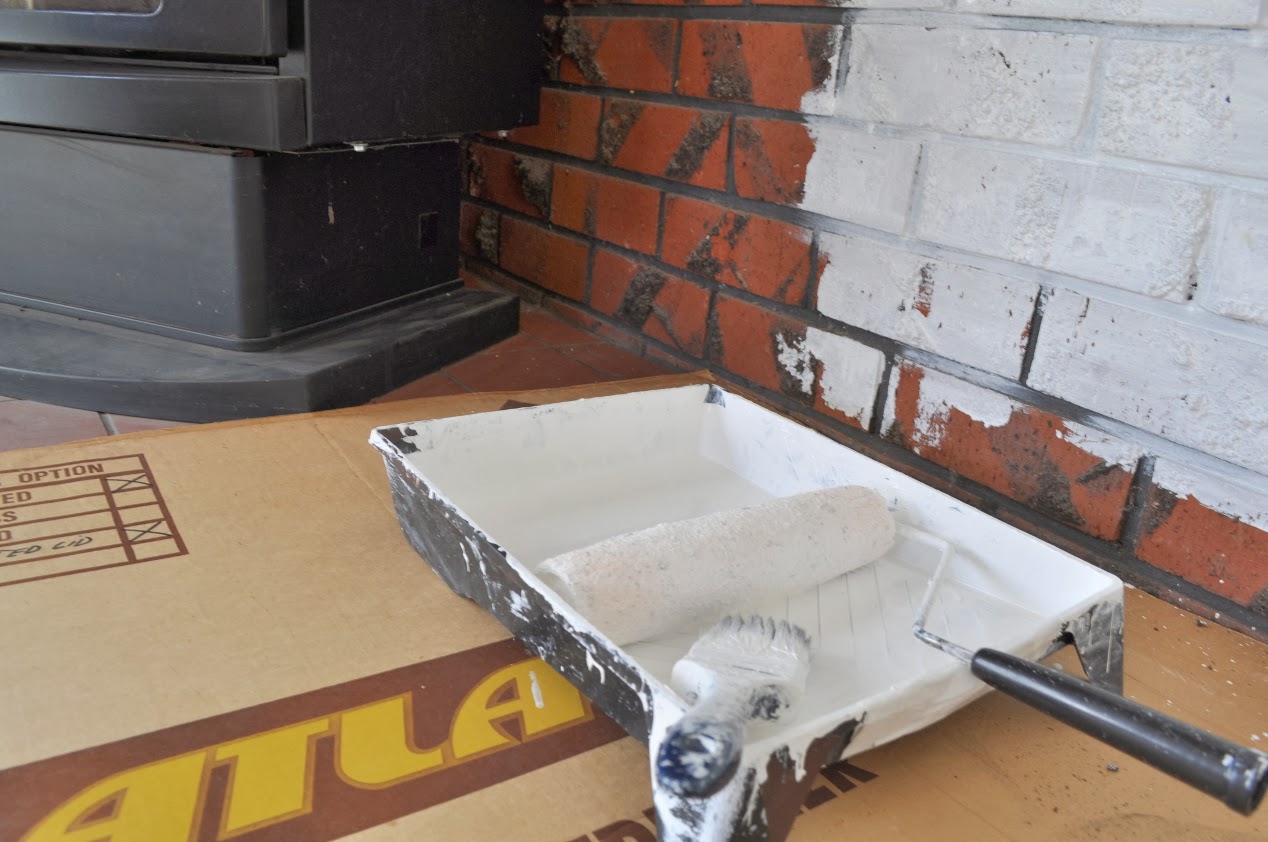
We painstakingly chipped as much of the stone effect off as we could before painting.

We used a white undercoat primer brushed and rolled on. The paint soaked well into the bricks proving the undercoat to be a timely affair.
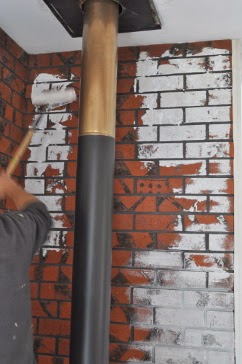
AFTER


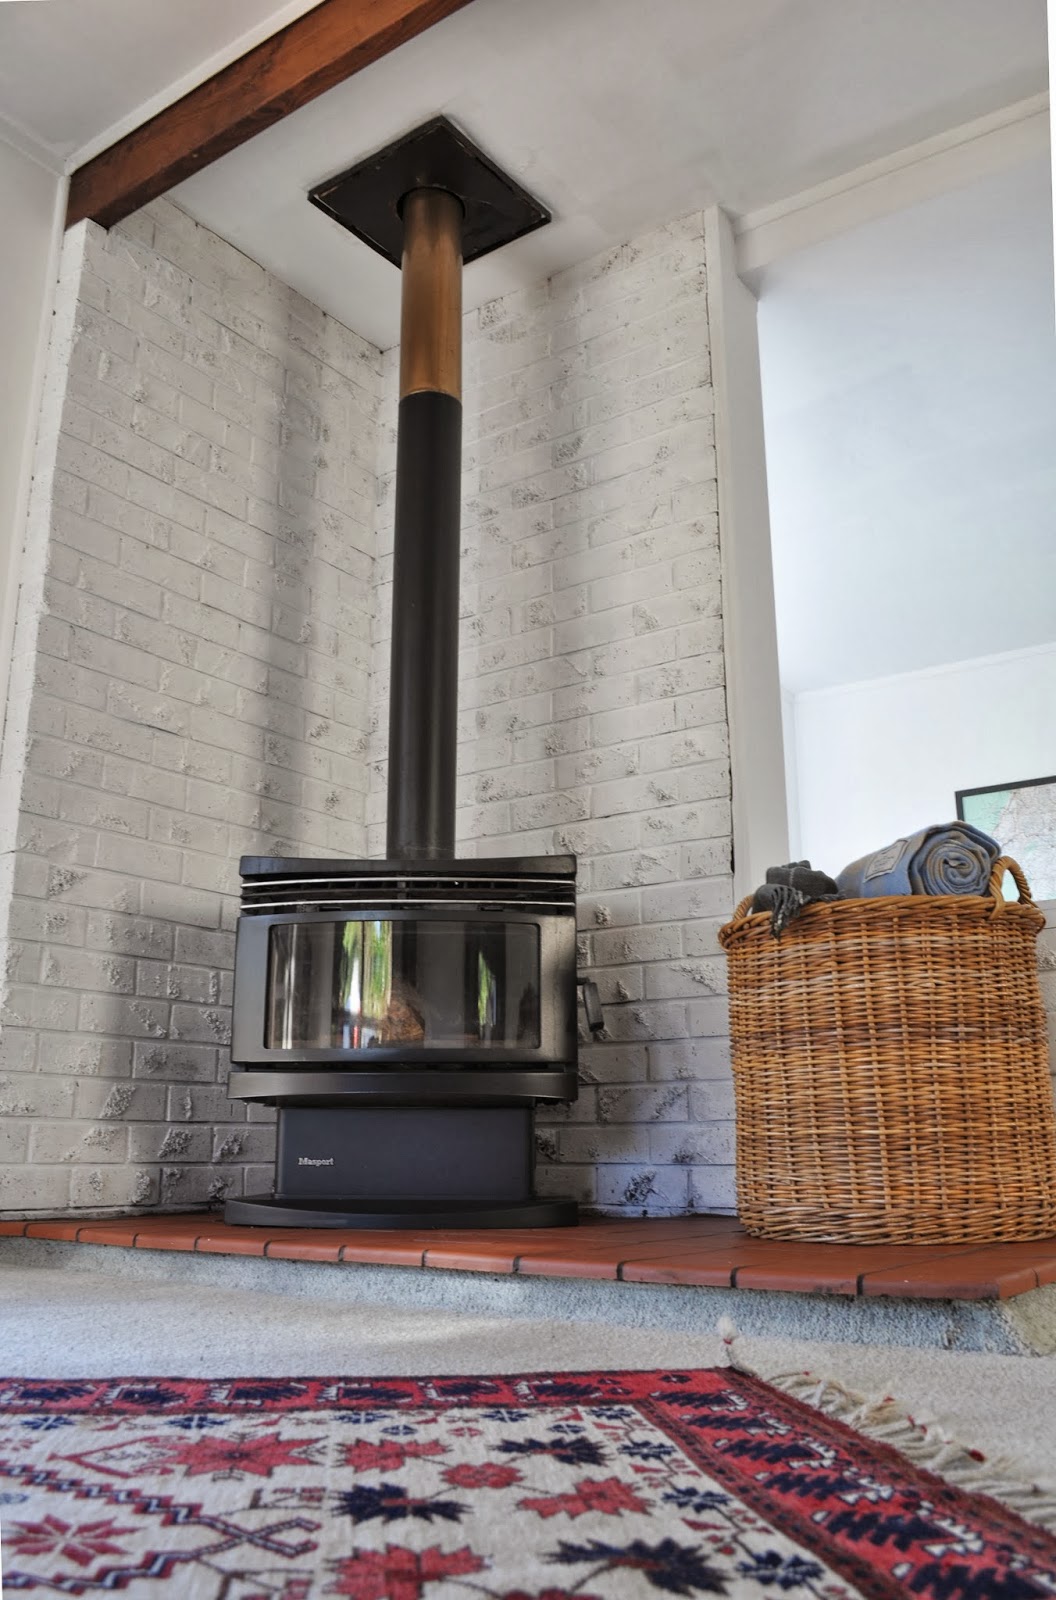
(Photography / Laura Thomas)